It’s no secret that I’m a big fan of the Silhouette Cameo. She’s probably my most used crafting tool. (Yes, that’s right, I said she. I’m sure she’s a sentient being!!)
Mostly I have used the Cameo for paper crafts, as pretty paper will always be my first love. However I’ve been dabbling a little with the idea of vinyl over the last few months. I finally took the plunge a little while ago and cut some vinyl. I read all kinds of tutorials about transfer tape and mirroring your design and nightmares with non-straight application. For those wishing to read or watch tutorials, YouTube is your best friend!
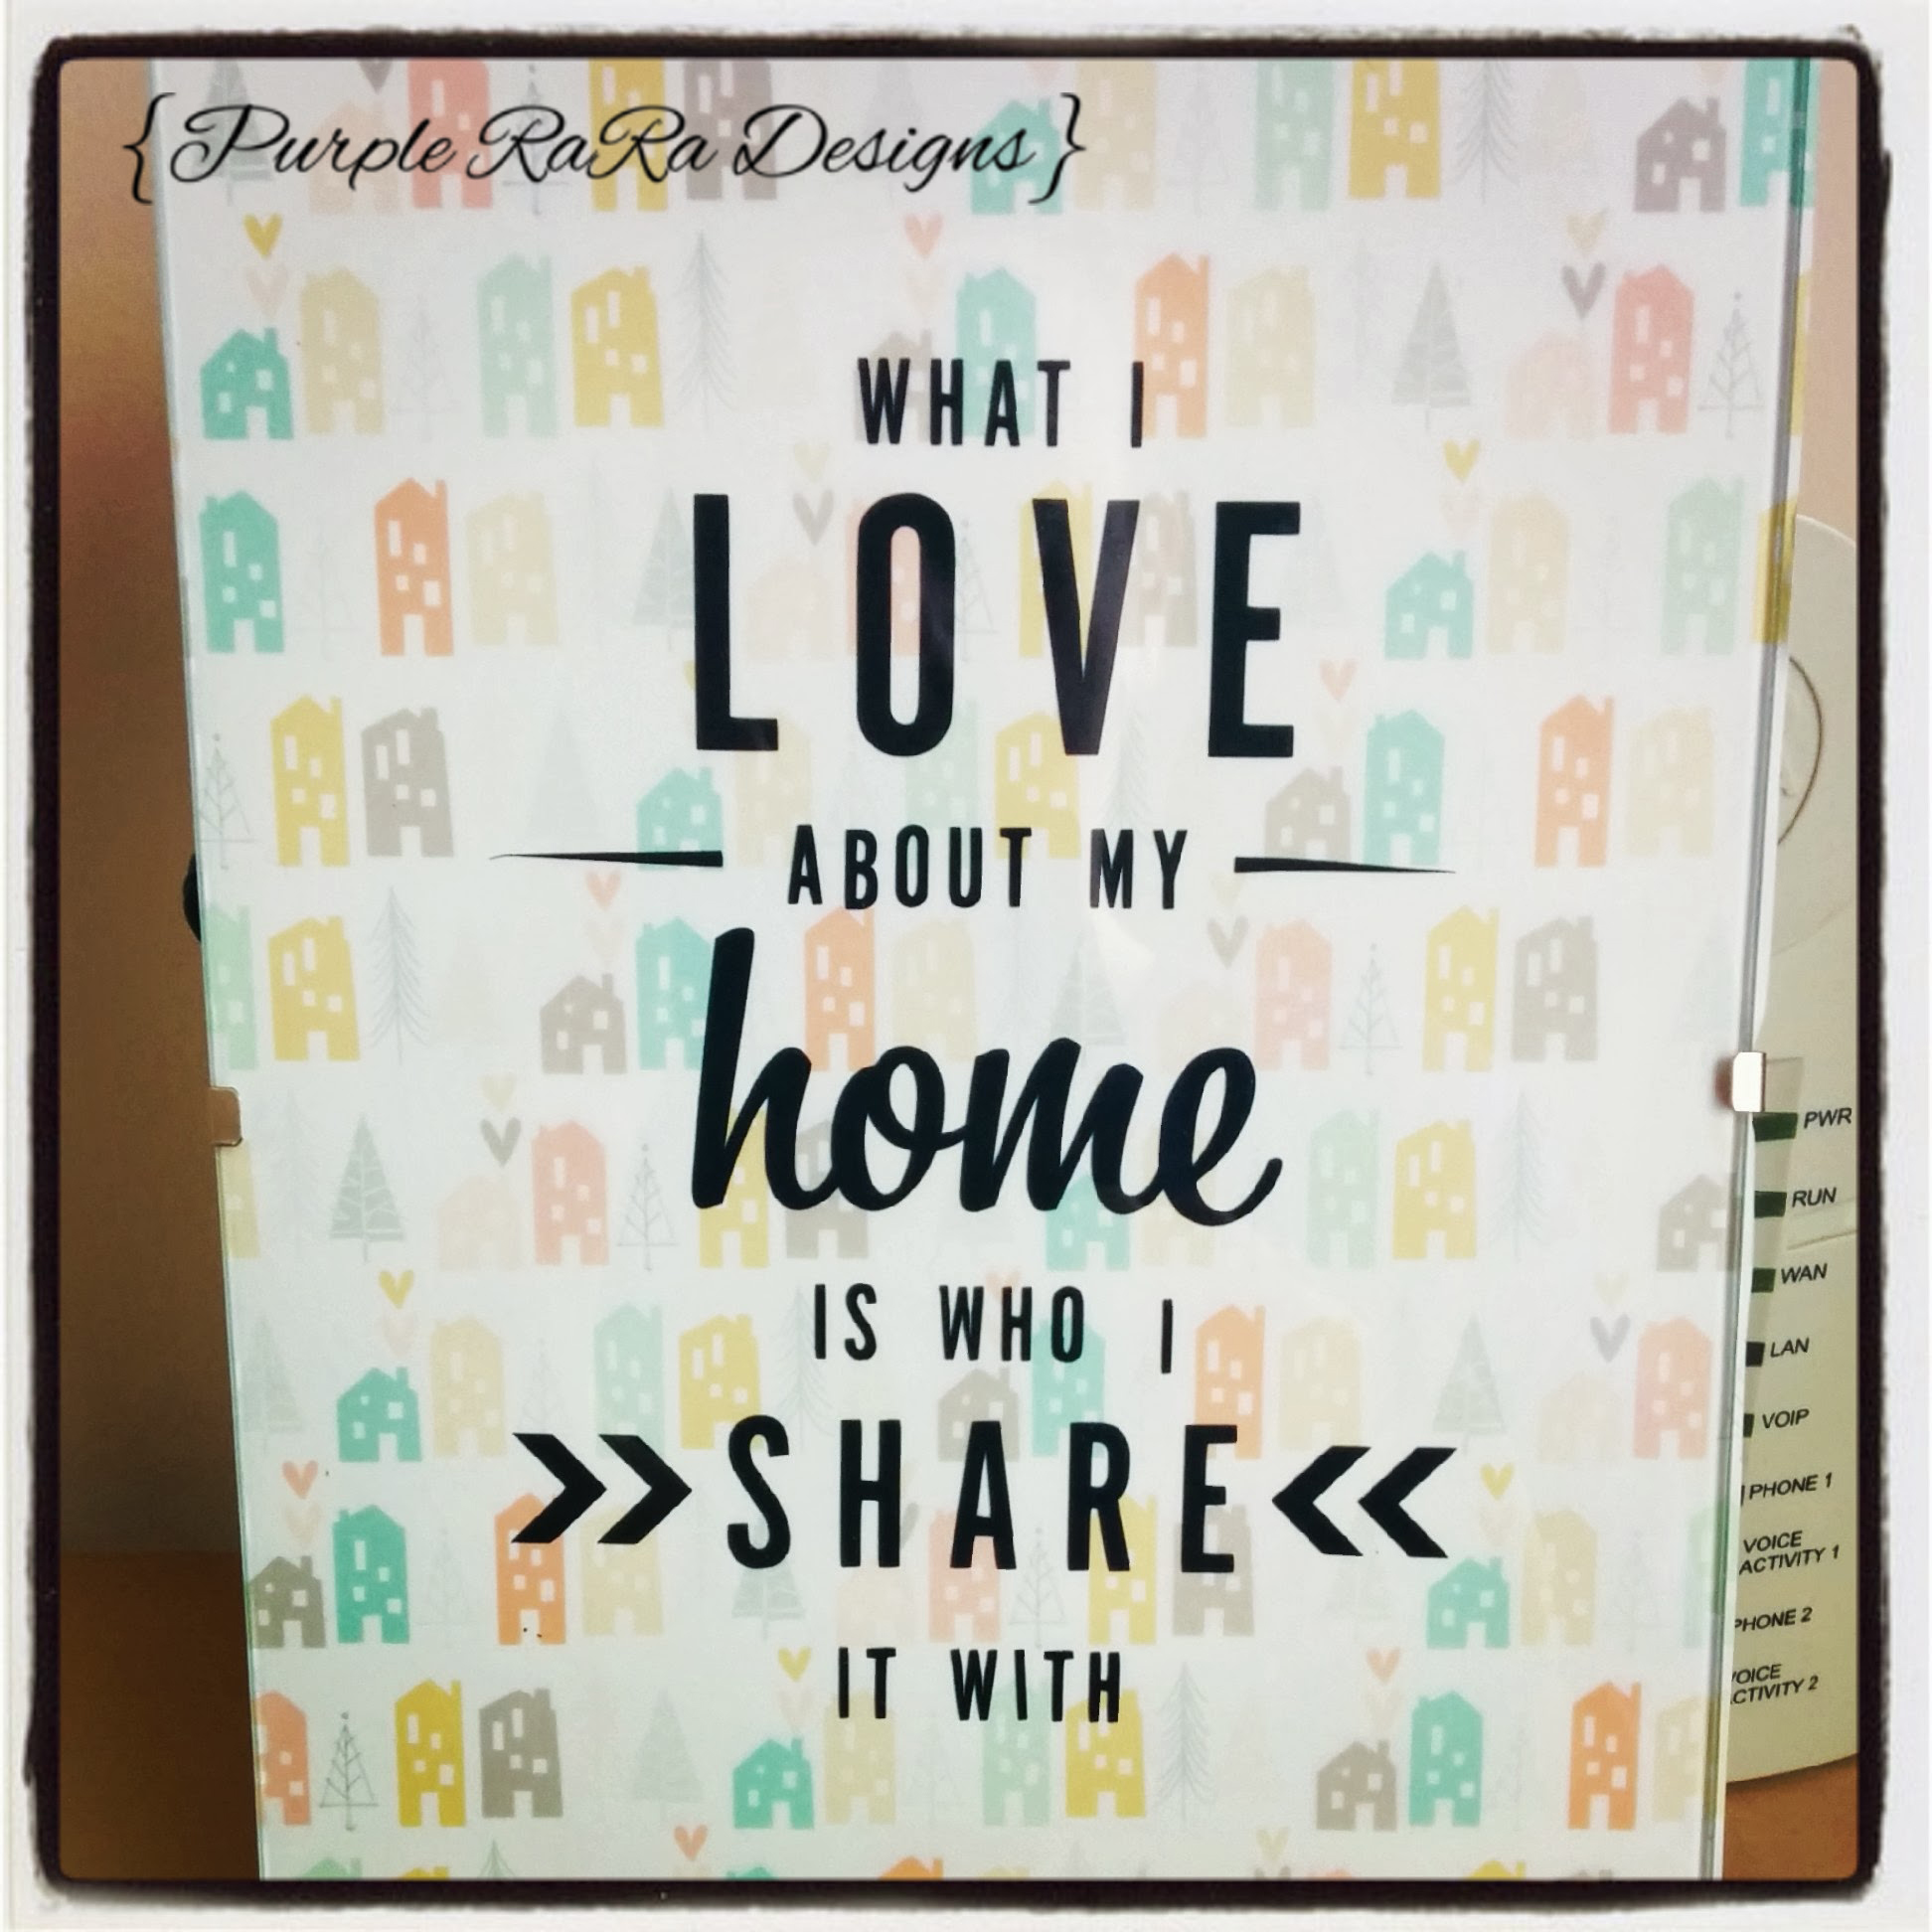
Although I was a little afraid at first, it was surprisingly easy. The first piece I made (shown here) was from a file at the Silhouette Online Store. I had to resize the design and mirror it (which means to flip it!). The Cameo had no problems at all cutting the vinyl. I then weeded the design (which means to remove the bits you don’t want) and used transfer tape to attach it to the back of a picture frame I had lying around. The frame is 6 x 4 inches so it’s quite small. I just added some digital patterned paper that I’d printed out and it was done. It’s small and simple but I was pleased with it! The picture shown here is from Instagram.
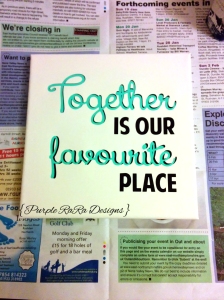 With my second attempt with vinyl I got a little more ambitious and decided to design something myself. I think I’d probably seen the phrase on Pinterest and liked it. I have a million fonts – well nearly – so the hard part was deciding which one to use!
I also wanted to try something different so this time I used canvas as my base. This was so easy I was amazed! I gave the canvas a couple of coats of paint, and once they were dry added the vinyl. There are two different colours in my design and I attempted to line them up correctly. I’ll be honest and say that I didn’t manage it perfectly, but hopefully that will just take some practice!
This canvas is somewhat bigger than the first piece, it’s about 20 cm square (or almost 8 inches in old money!) I’m working up to a big piece for over our bed. Hopefully I’ll get round to that eventually!

 An anniversary card made using the Silhouette Cameo and files from a kit by SVGcuts.com. The paper was pulled from my stash so I don’t know where it came from, other than the cardstock was American Crafts. Because it almost always is!